Combining JavaScript with Articulate Storyline
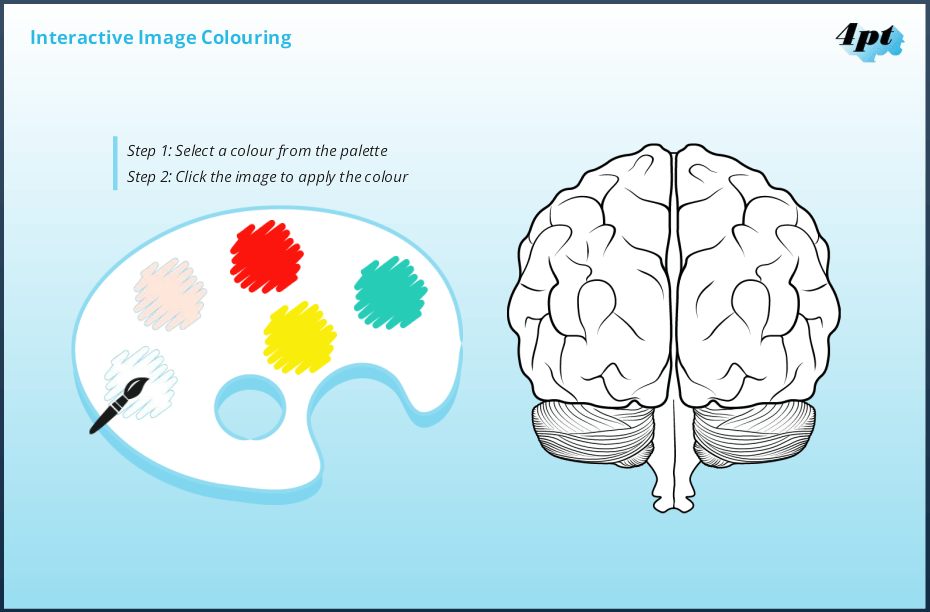
In this post we’re going to talk about how we combined JavaScript with Articulate Storyline 2, to create a fun and interactive image colouring demo.
Designing our interactive game
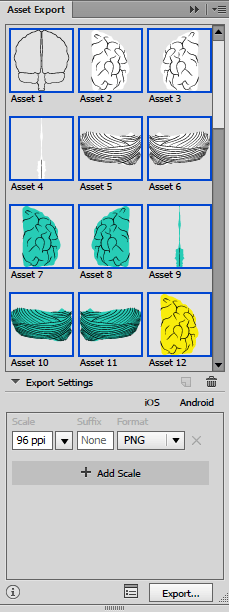
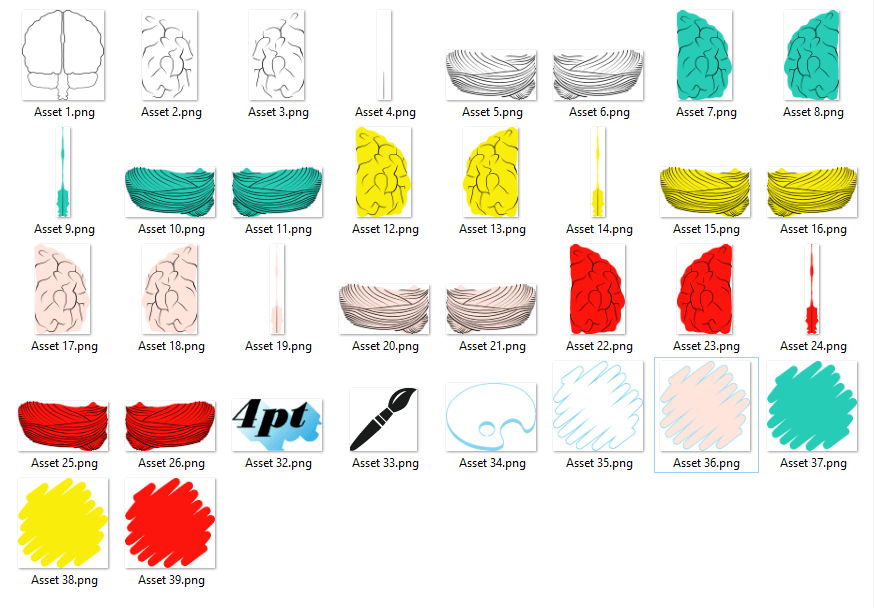
As we often do, we started by illustrating our artwork using Adobe Illustrator. Once we were happy with the layout of our screen, we used the neat new Asset Export pane in Adobe Illustrator CC to export our artwork as a series of 96 ppi PNGs. The asset Export feature is so easy to use, all you need to do is drag your artwork on to the panel, confirm your settings and hit export.
FYI, images at 96 ppi are a must if you want to make your Articulate Storyline projects look great.
Building interactivity in Storyline
Next we inserted our images in to Storyline using the Insert Picture from File option and recreated our screen layout.
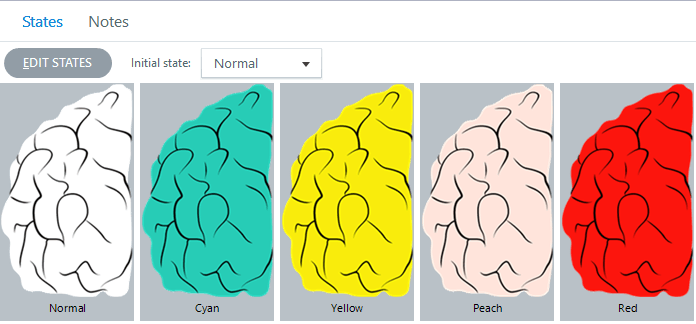
Once the brain image had been reconstructed we set about editing the state of each of the sections of our illustration. As you can see from the image below, each part of the brain has five states (white, peach, red, yellow and cyan).
Our next aim was to create an interaction that would allow the user to colour each of the parts of the brain independently.
To do this we knew we’d need to attach a number of triggers to the colour swatches in our palette.
Once we got started, it became apparent that our trigger panel was filling up pretty quickly. While we’re yet to build anything with enough triggers to bamboozle Storyline, we were finding it quite difficult to keep track with the nuts and bolts of our project, so decided to rethink our approach.
JavaScript to the rescue
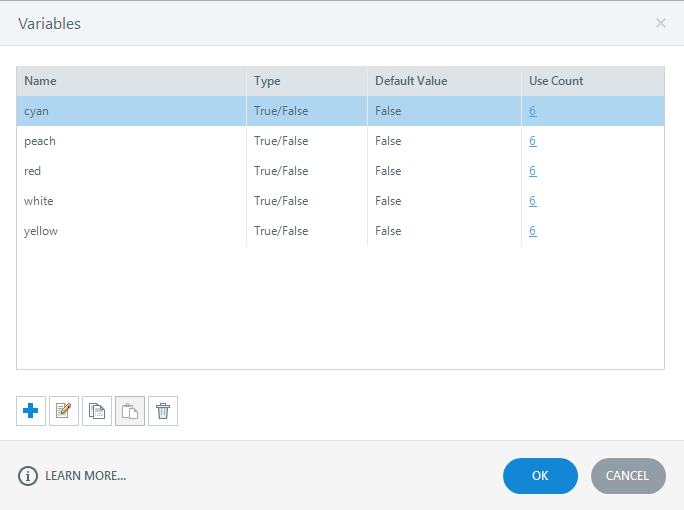
Earlier we mentioned that each part of the brain illustration now had five states. We went on to create five, True/False variables and named them to match the colour of each state (white, peach, red, yellow and cyan).
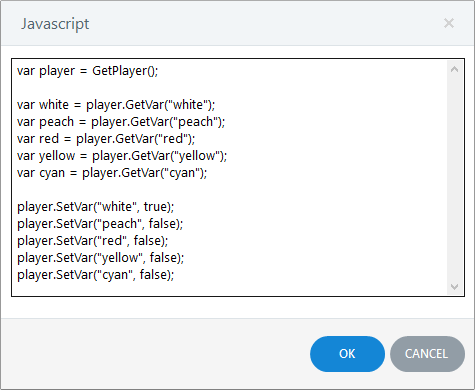
We then attached an Execute JavaScript trigger to each swatch on the colour palette, containing the following code to switch the relevant colour’s variable to ‘true’. The JavaScript in the example shown switches the ‘white’ variable to true, and all others to false.
Putting it all together
The final step was to connect the colour palette to the brain illustration.
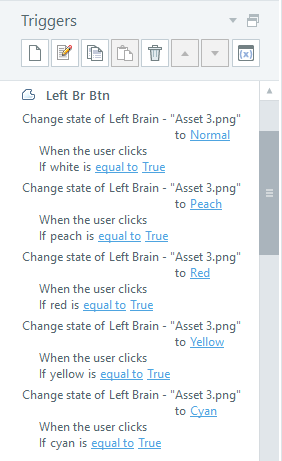
As the illustration had been constructed using multiple PNGs stacked on top of one another, we were worried that the user might face issues when trying to accurately select the areas of the brain to recolour. To get around this we used the freeform drawing tool to trace the outline of each part of the illustration that we wanted to be able to recolour. We removed the fill and line colours of the five new shapes, making them invisible, and attached the following triggers to each:
Each of these triggers is setting the state of part of the underlying image based on the condition of the five True/False variables we created earlier.
In short, if the user clicks the red swatch, the red variable is set to true (and all others set to false). Then when the user clicks the illustration it is coloured red.
Conclusion
We enjoyed putting this demo together and as you can see, we haven’t created anything that Storyline couldn’t actually handle on its own, without JavaScript. In this case we just felt it was easier to manage the variables using JavaScript, reducing the number of triggers we needed to use, making it quicker and easier to look at the mechanics of our interaction.
Try it: Paint-by-Numbers
We hope you enjoyed looking at the mechanics of this eLearning build. You can try the finished demo by clicking the button below.
Free Articulate Storyline source file download
We’ve stripped our example back to basics and you can download the Articulate Storyline source file here. Take a look and see how you can use this functionality to create something fun!
Let us know how you get on via Twitter @4ptLtd.
FREE eLearning Downloads
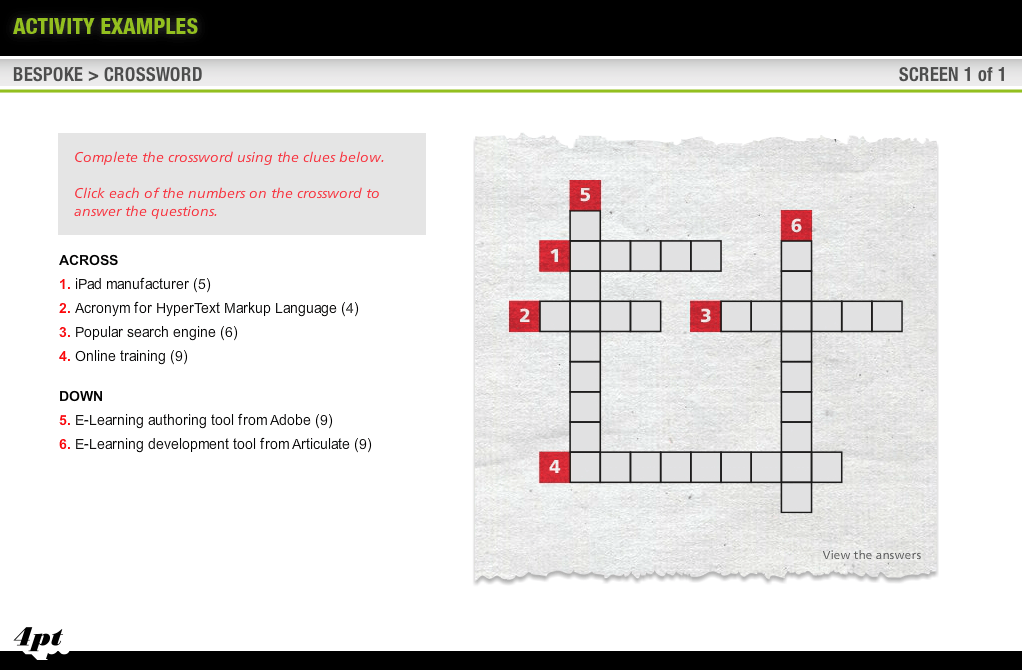
Articulate Storyline 360 Crossword Puzzle
Learn how to build a crossword puzzle in Articulate Storyline 360.
FREE Grid Accordion Storyline 2 DOWNLOAD
Up for grabs here is a FREE Articulate Storyline template.
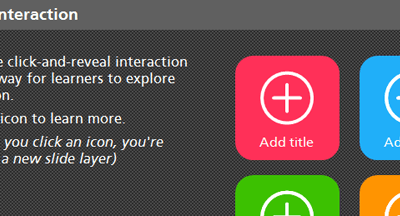
How to Create an App Inspired Interaction in Storyline 2
E-Learning Heroes Challenge #139 was to redesign an old Storyline 1 template. Read more about how we did just that in this article.

David began his eLearning career in 2000 after earning qualifications in Graphic Design and then Newspaper, Magazine and Infographic Design.
During his time working in the eLearning industry David has gained extensive experience designing and developing eLearning content for clients based in the UK, Canada and the USA. To date, David has created eLearning courses covering a broad spectrum of topics, ranging from Pharmaceutical, Healthcare, Retail and Sport through to Pet Nutrition, Marketing, Sales and Tourism.
He is passionate about creating well-designed and purposeful eLearning solutions. David is a current Articulate E-Learning Heroes Super Hero.


